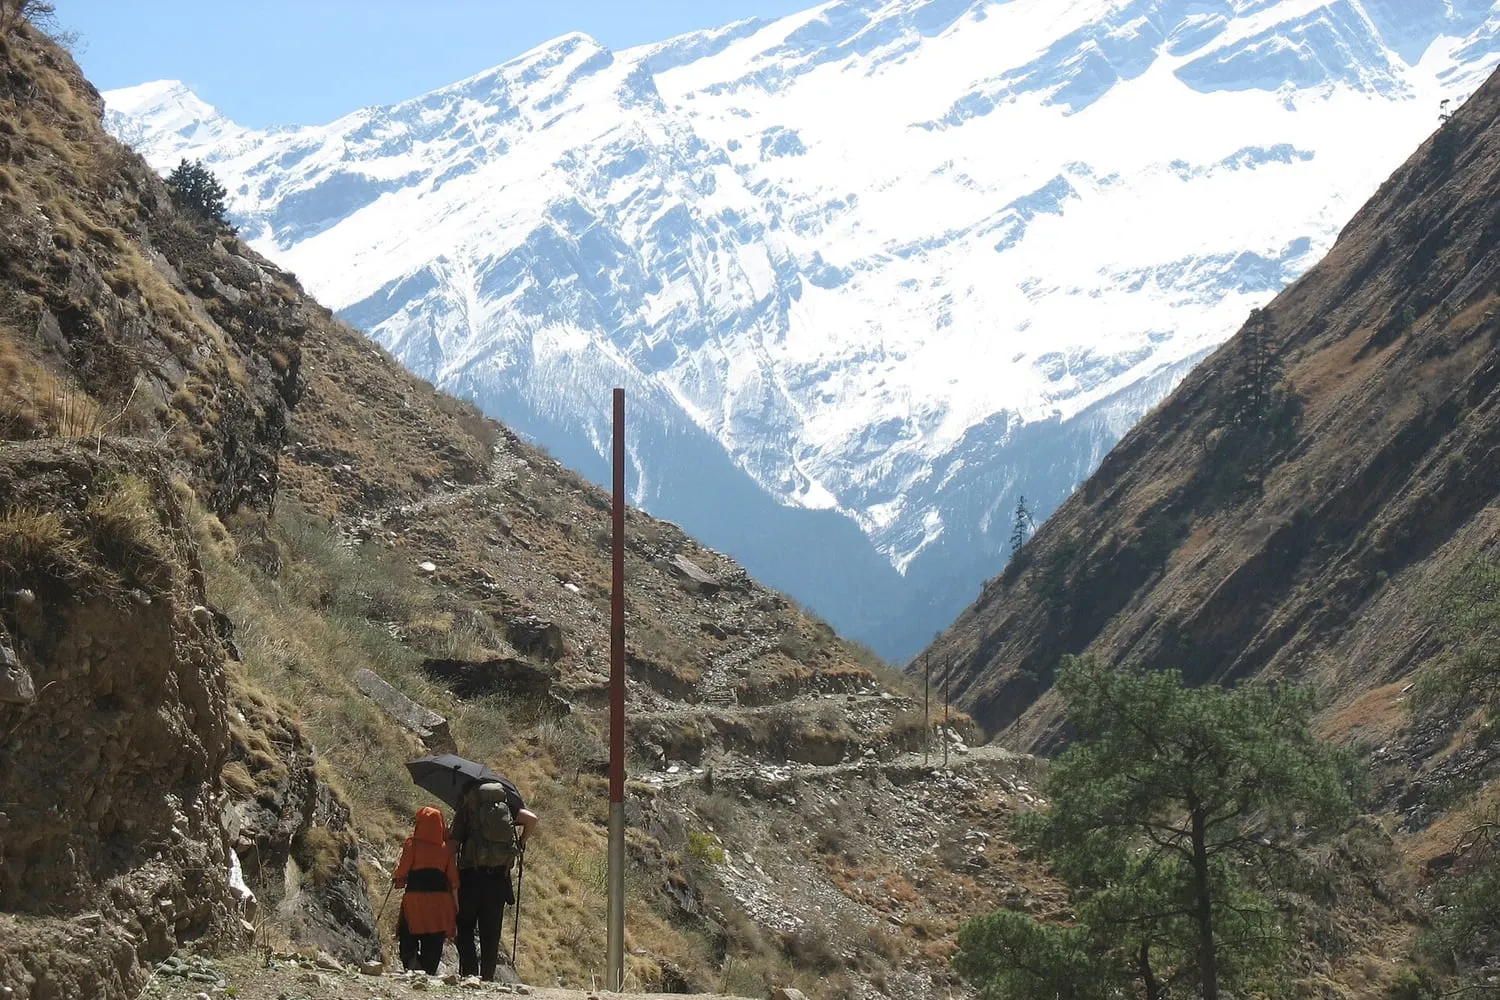
The case for poles is usually made as an argument about knees, which is difficult to verify and easy to overstate. The mechanical case is simpler. Poles move part of the work of walking from the legs into the arms and shoulders, and they add two points of contact that help when balance rather than strength is the limiting factor. The part most walkers get wrong is not whether to carry poles but how to set them, because the length that helps on a climb is the length that hinders on a descent.
A pole that is too long pushes the shoulder up and tips the body backwards. A pole that is too short folds the arm and removes most of the push. The correct setting is closer to an angle than to a personal taste: the arm should be able to work through its range with the elbow neither locked nor jammed against the ribs, and the shoulder should stay low.
Aluminium and carbon fail differently
The choice of shaft material is mostly a choice about how a failure happens.
- Aluminium bends. It is heavier for the same stiffness, it tolerates knocks, and a bent section can sometimes be straightened well enough to finish the walk, particularly with a repair sleeve or a spare section.
- Carbon fibre is lighter, stiffer and damps vibration better. It also shatters, and it can fail after repeated impacts with no visible warning. A broken carbon section cannot be repaired in the field.
Where the poles will be used matters as much as the weight saved. On a long walk into remote ground, a failure that ends the day early has a higher cost than a hundred grams on the arms. Near a road, or on day walks with an easy exit, lightness has the stronger case.
Locks, and the maintenance each one needs
Two locking systems dominate, and they wear in different places.
Flick-lock poles clamp the section from outside with a cam lever. The mechanism is visible, so grit and wear can be seen, and the clamping tension is adjustable with a screw or a nut. The common failure is a lever that has been knocked open against rock, or a cam that has been contaminated and slips under load. Cleaning the cam and checking the tension before a trip takes seconds.
Twist-lock poles expand an internal wedge inside the section. They are smooth and nothing protrudes, and they need more care. A twist lock slips when the wedge or the inner wall is wet or gritty, it can seize if it is over-tightened, and the wear is hidden inside the tube. Dismantling the sections after a wet trip, wiping them dry and letting them air is the maintenance that keeps the lock working. Oil attracts grit, so follow the maker’s advice rather than adding lubricant by instinct.
Folding poles add a third pattern: three short sections joined by an internal cord, with one or two locks. They pack small enough to go inside a pack or strap to the side, and they need the cord tension kept correct, since a slack cord leaves the joints loose under load.
Grips and straps
Grips are shaped by material.
- Cork moulds to the hand, stays comfortable when wet and grips well, and it wears and darkens with use.
- Foam is light, cool against the palm and comfortable in heat, with a shorter service life than cork or rubber.
- Rubber and dual-density grips are durable and positive in the hand, and they become slippery once wet gloves are involved.
Many poles extend the grip material below the hand position, which allows the hand to slide down on a long side slope without adjusting the pole at all. That single feature removes most of the reason to alter the length during the day.
Straps are where most technique is lost. A wrist strap is designed to take the load through the heel of the hand and the forearm, with the palm resting on the grip rather than gripping it hard. A pole pushed through a correctly adjusted strap transfers weight down the arm, and the hand can relax between steps, which is what keeps the forearms working all day. Gripping the handle with the strap hanging loose wastes the strap and tires the forearm. In terrain where a fall could trap an arm, a strap that holds the wrist has a clear disadvantage, and some designs are made to release under load. That trade belongs to the user and the ground, not to the pole.
Tips and baskets
The tip is a consumable, and it decides how well the pole holds.
Carbide tips bite into rock, ice and hard-packed ground, and they round off with distance. A worn tip skates on wet rock, which is exactly where a pole needs to hold. Tips are replaceable on almost all walking poles, and replacing them before they are rounded is cheaper than replacing a pole.
Baskets sit above the tip and stop it sinking. A small basket for mud and soft ground widens the effective surface of the tip so the pole does not plunge, and a larger basket does the same in snow. Baskets also stop the tip wedging in a gap between rocks or catching in roots. Removing them for softer ground reverses their purpose. Rubber tips protect hard surfaces, road sections and the inside of a vehicle, and they grip badly on wet rock.
Setting the length
Length is the setting that turns a pole from a prop into a tool.
- Flat ground: with the tip on the ground beside the foot and the pole vertical, the arm should hang with the elbow close to a right angle.
- Ascent: shorten by roughly five to ten centimetres so the arm can push down and back without the shoulder lifting.
- Descent: lengthen by roughly five to ten centimetres so the pole reaches the ground ahead with the hand relaxed and the elbow open.
- Traverses and side slopes: shorten the uphill pole, lengthen the downhill pole, or keep one length and use the extended grip section with the downhill hand.
- Tent and tarp use: check the length the shelter requires before setting off, since many trekking-pole shelters are cut for a specific height.
The extended section, often called the overlap, is not a spare. Sections must be inserted at least to the marked minimum. A pole used with too little overlap flexes at the joint and can snap or shear the lock on a hard plant.
Checks before a long day
A short routine catches nearly every problem poles develop.
- Open each lock, wipe the sections, and check the clamping tension or the twist grip.
- Inspect the tips for wear and the baskets for cracks, and carry a spare tip on a long trip.
- Check the straps and the grip for glazing or splits.
- Confirm the sections are inserted past the overlap mark.
- Rinse and dry the poles after a wet, gritty trip before putting them away, particularly the twist locks.